Hear your own voice
Connect speaker to Lite, and Lite to Pi by one USB cable. Make a short local recording and play it back.
Audio assembly steps 1–5YOUR FIRST BUILD
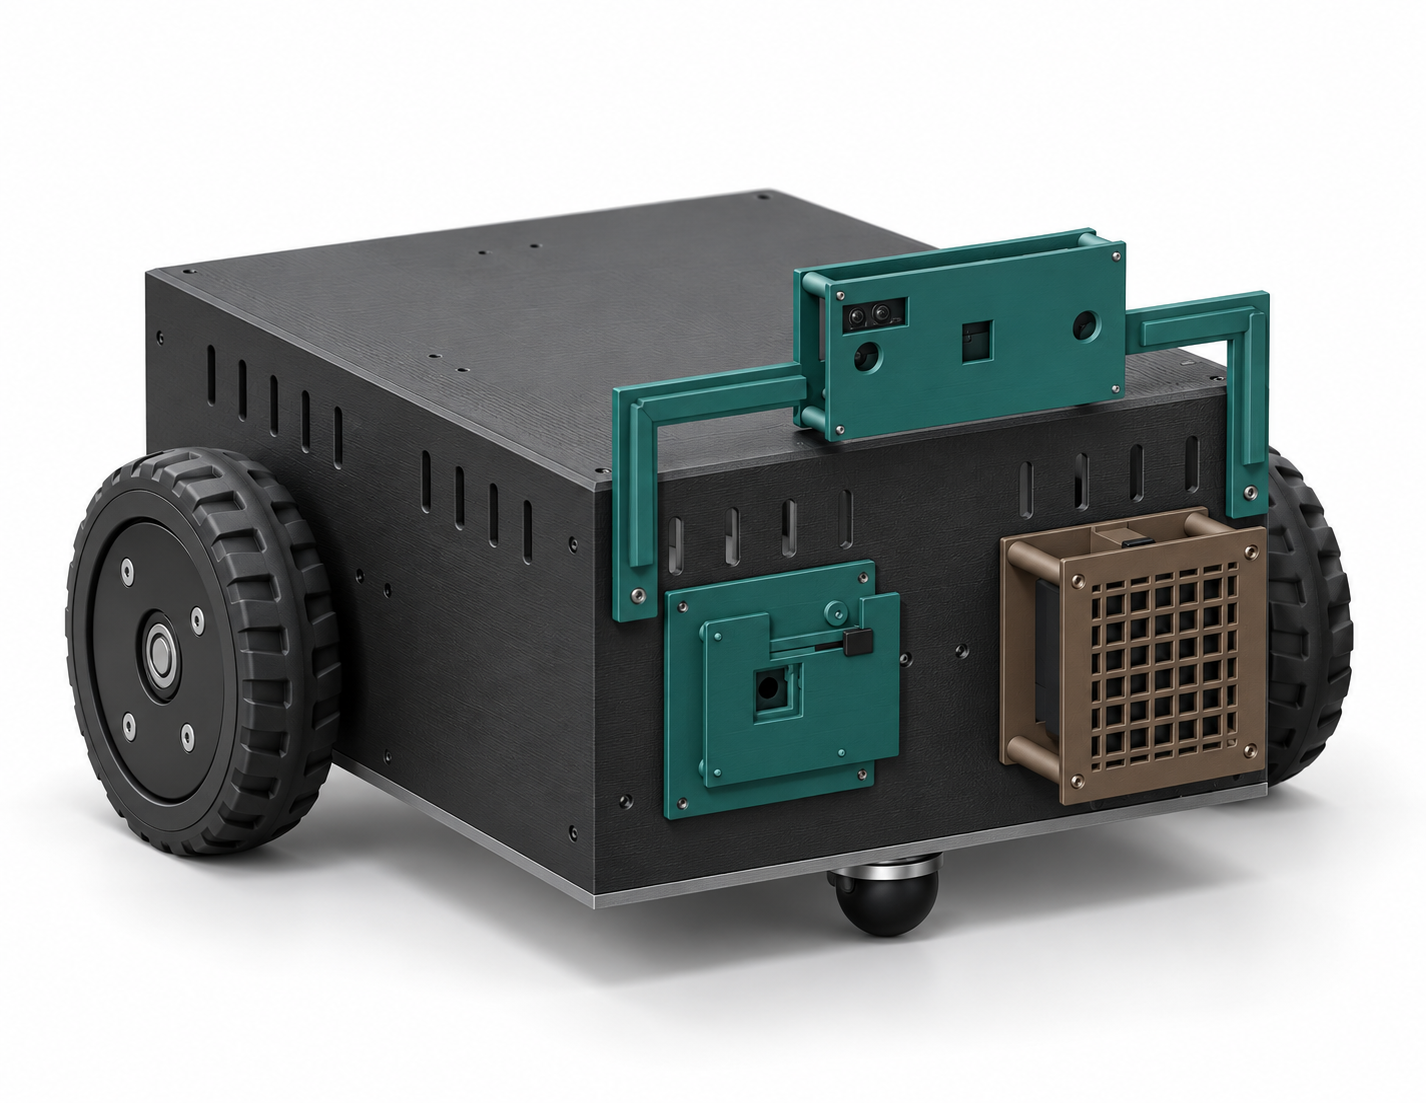
Reuse your Pi 5. Add a microphone board and speaker, then the camera. Get this small stationary core working before building the wheeled body.
No soldering or motor wiring in this first path. The custom AI application still needs to be installed and tested.
FEATURED CONCEPT FILM
Conversation, camera vision and removable modules, explained with a simulated robot and real manufacturer component photographs.
Simulated concept demonstration. Presenter visuals are AI-generated; narration uses the stock Holden voice. Component photos identify proposed hardware. No built robot, physical fit or tested performance is claimed. Speech captions are built into the video; an optional English caption track is also available.
“I’m Dave. Meet the next MORLOK concept.”
“Camera vision, two microphones, and a dedicated speaker.”
“Removable modules make access and upgrades easier.”
“Raspberry Pi for AI and Pico for motion control.”
“What’s this, MORLOK?” The simulated robot reply is “A blue mug.”
“A concept today. Next, we build and test.”
Manufacturer photographs: Raspberry Pi camera, Pi 5 and Pico H, Seeed reSpeaker Lite, Seeed speaker and Pololu driver. Respective manufacturer rights retained.
Music: “Pulse” by SRG774, Dark Sci-fi Audio Pack, released under CC0 1.0.
THE SHORT ANSWER
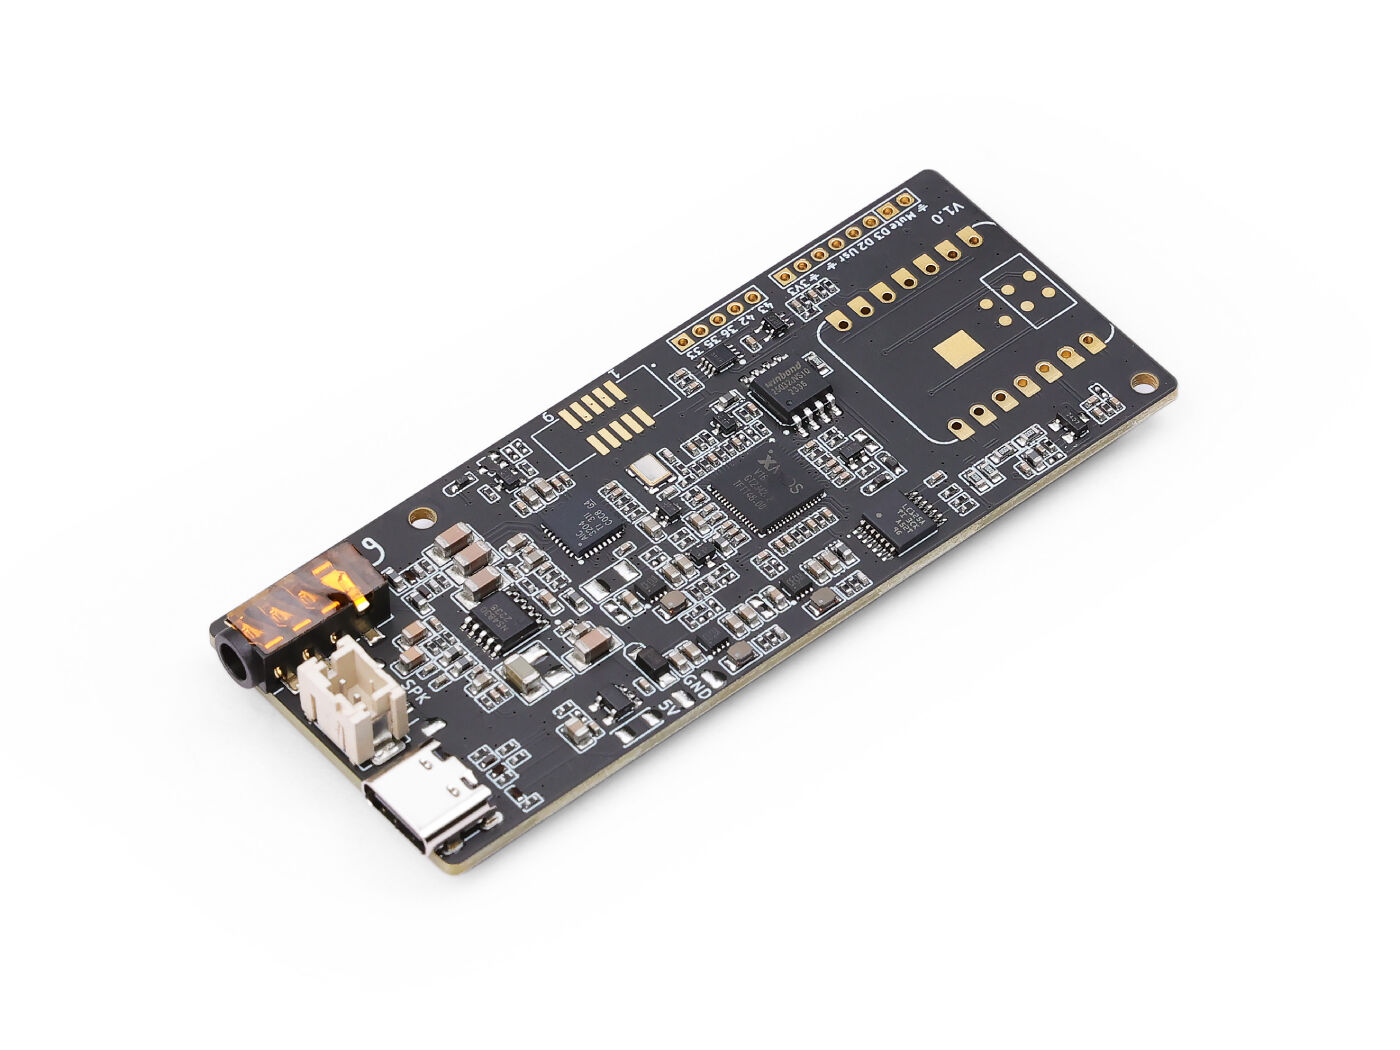 1 × reSpeaker Lite USB 2-Mic ArraySeeed 107990273 · without XIAO · without case
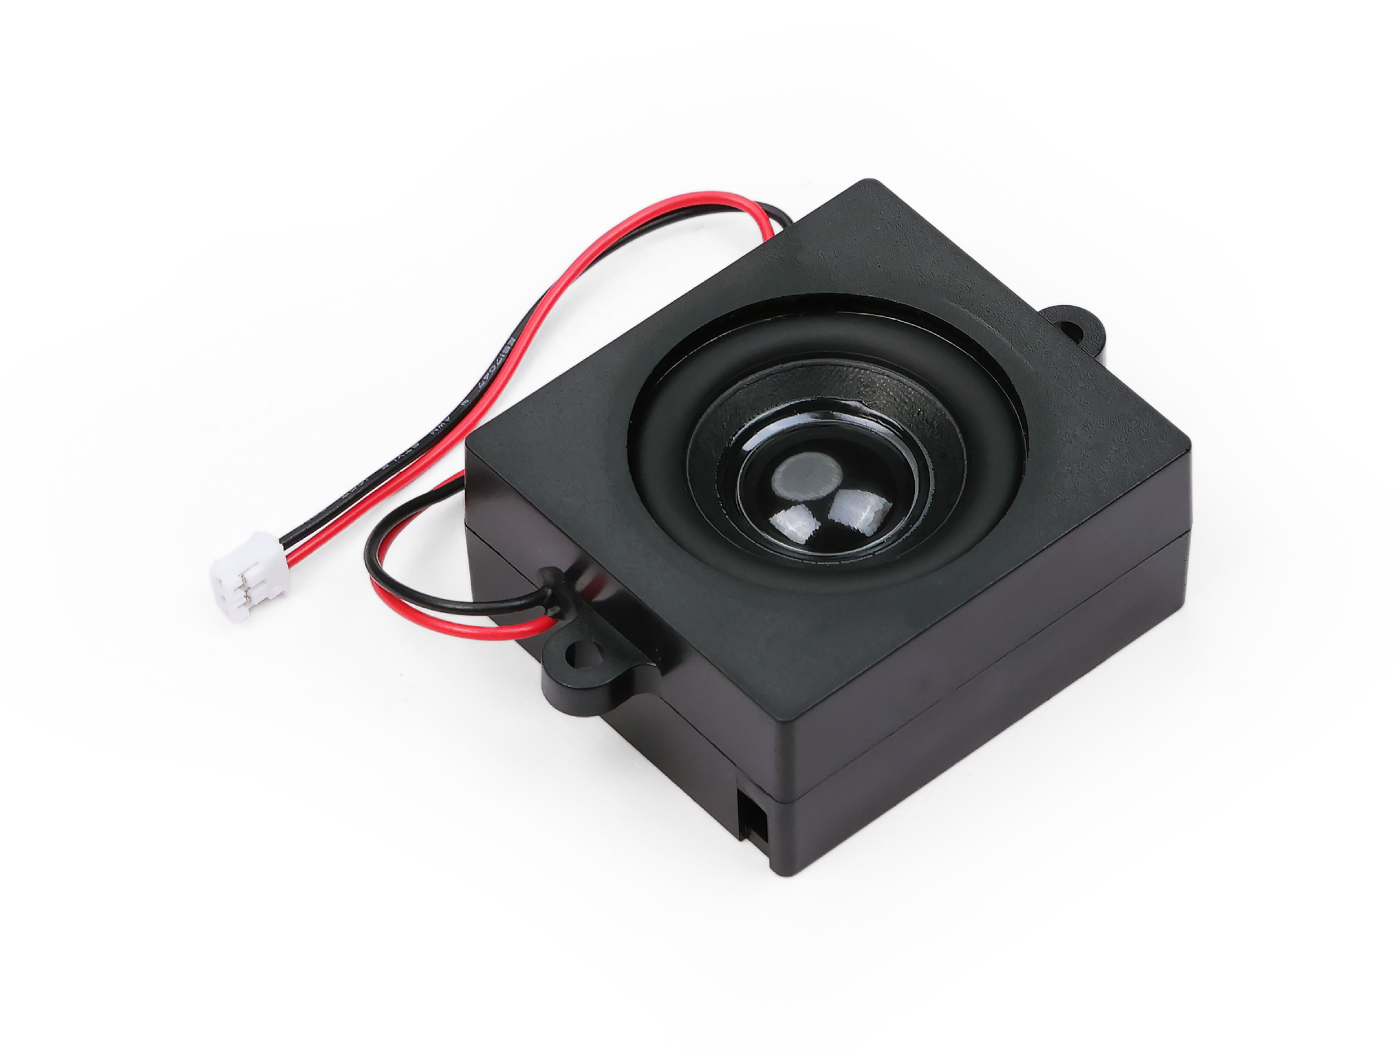 1 × Mono Enclosed Speaker 4Ω 5WSeeed 114993346
 1 × USB Type-A to Type-C data cable, 1 metreSeeed 106990248 · USB 3.1 Type C to A Cable
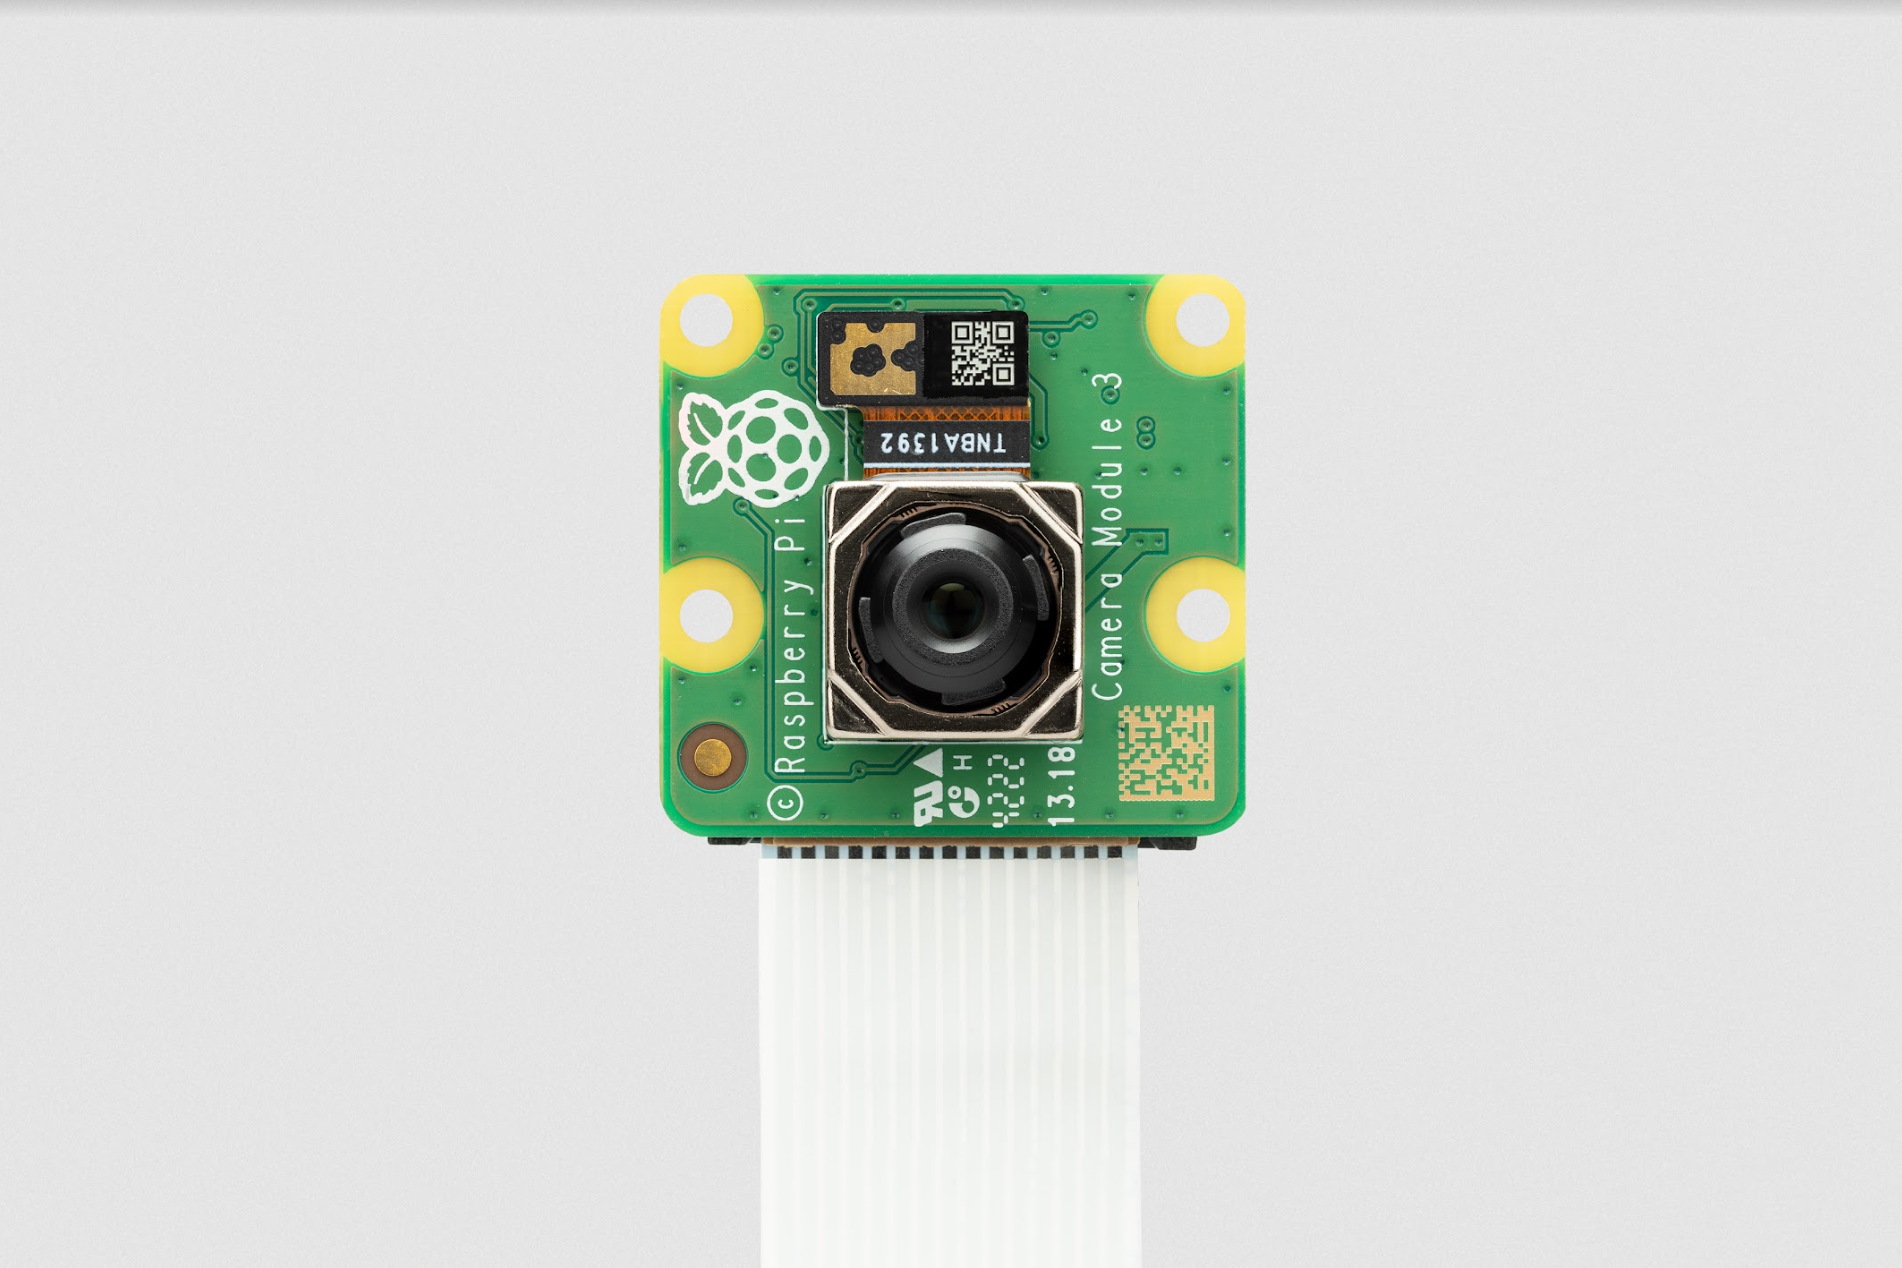 1 × Raspberry Pi Camera Module 3 StandardSC0872 · normal field of view · visible light
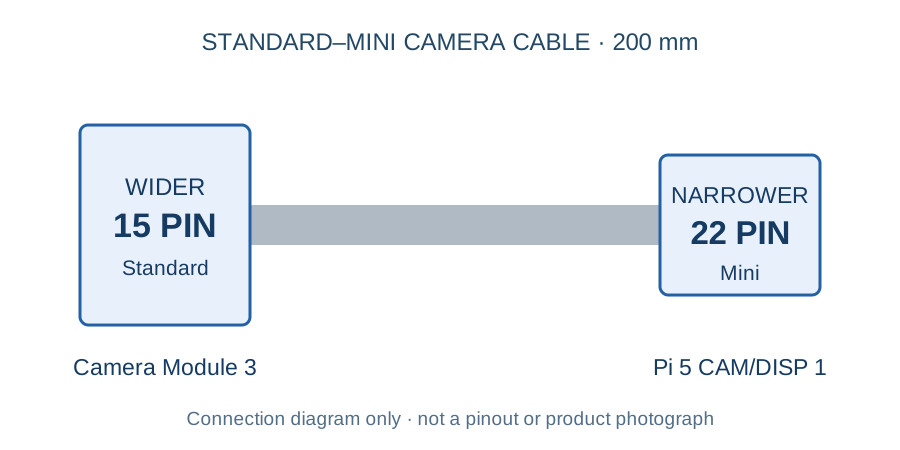 1 × Raspberry Pi Camera Cable Standard–Mini, 200 mmOfficial camera cable · 15-pin camera end → 22-pin Pi 5 end
Buy only the items you do not already have. Check your existing Pi 5 kit, supply and cooling before ordering. A robot-car kit is not required for this stationary build.
Connect speaker to Lite, and Lite to Pi by one USB cable. Make a short local recording and play it back.
Audio assembly steps 1–5Add the camera with the correct wide-to-narrow ribbon. Check one picture and a physical lens cover.
Camera assembly steps 6–8Hardware alone does not answer questions. The custom application needs capture controls, credentials and a real test.
What software exists and what is nextSEPARATE WORK
The current body uses R2 shell geometry with PC1 camera and audio modules, supported by the PF1 printed-frame candidate. Body and frame mounts still need fit checks. Motors, Pico, battery, drivers and drive-stop wiring are not in the first shopping basket.
Camera shutter prototype · Full robot design and safety history